VPNs, DNS, and the Art of Not Being Watched: My 2025 Privacy Setup with pfSense
INTRODUCTION:#
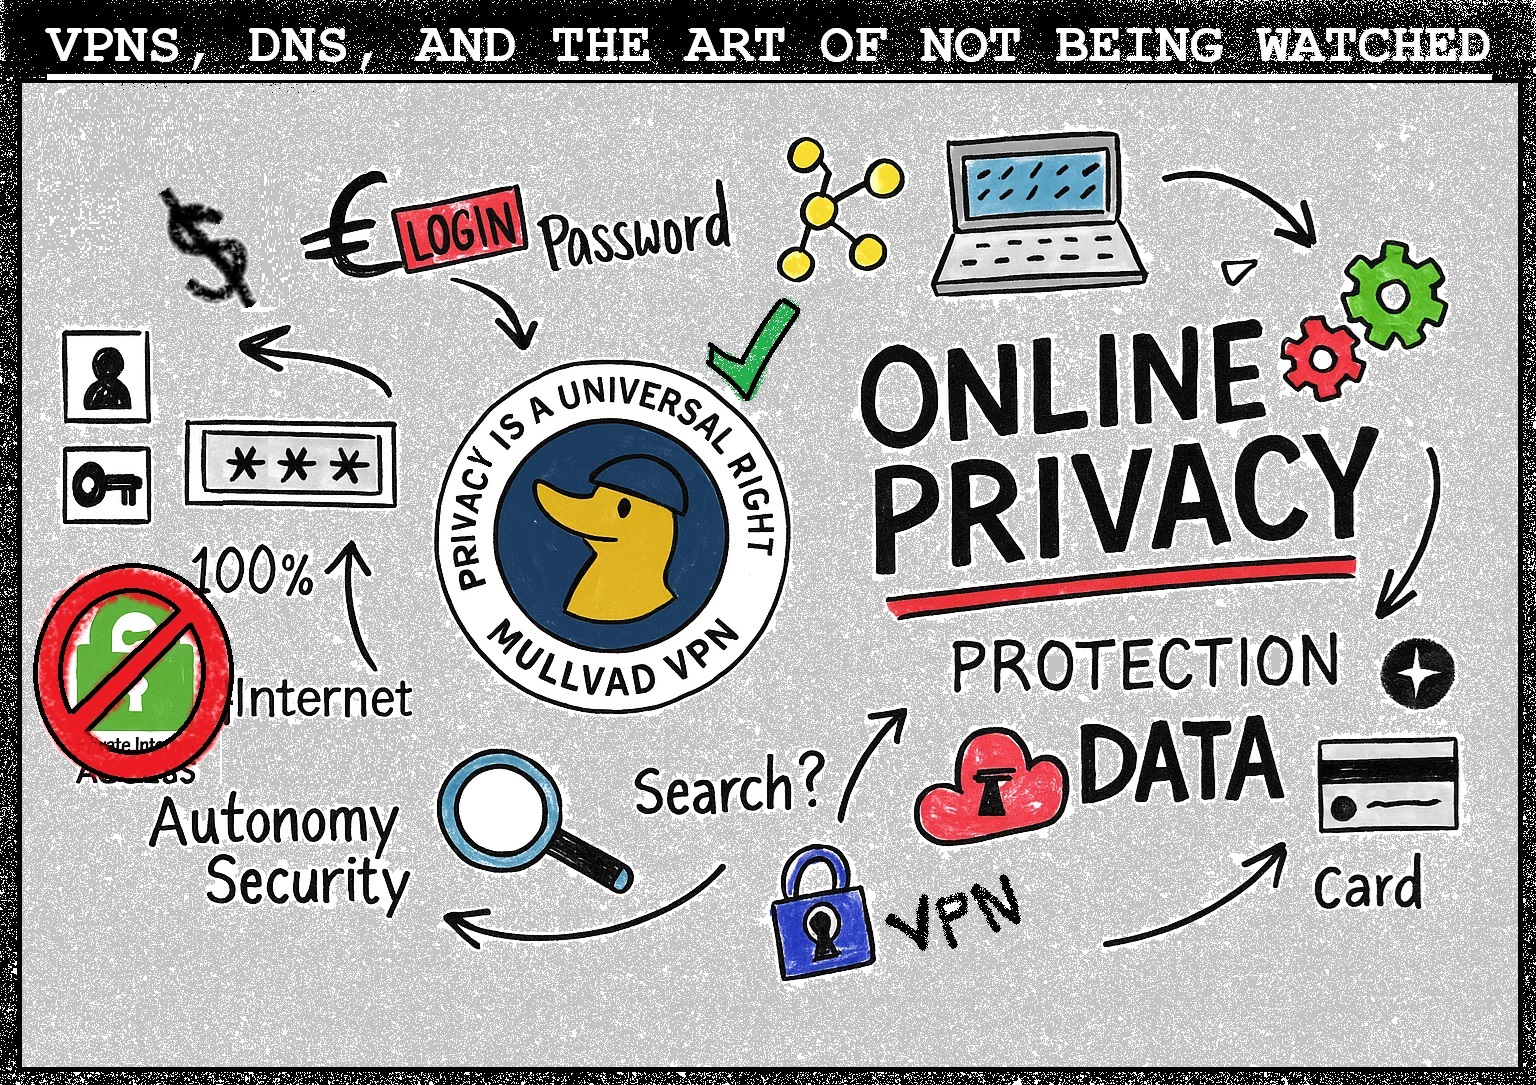
 It’s 2025. And let’s be real — online privacy is still treated more like an upsell than a right. I started caring about digital privacy back in 2014 when I realized just how much metadata could say about you, even when your actual content was encrypted.
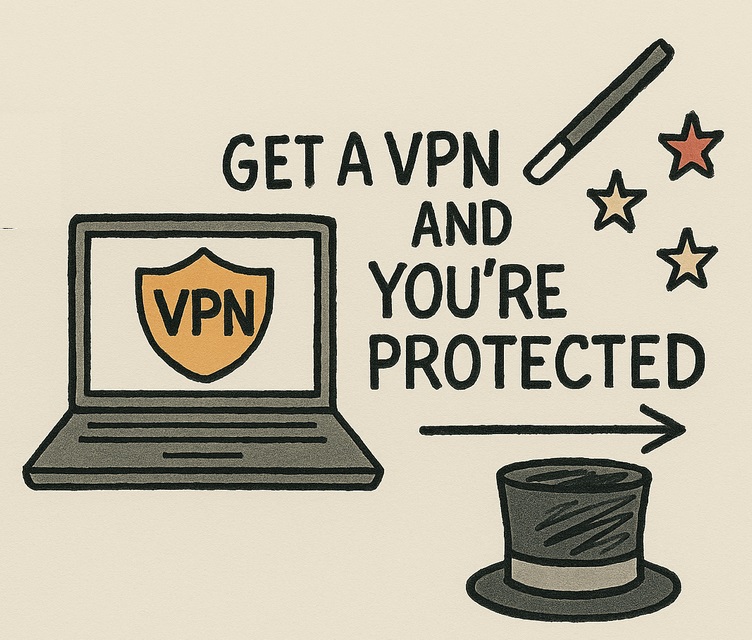
A VPN, I found, wasn’t a magic shield — it was a rerouting trick. A sleight-of-hand for your internet traffic. The ads scream “Get a VPN and you’re protected,” but the reality depends entirely on what you’re trying to accomplish.
 If you need to appear as if you're browsing from a different geographic location, sure, a VPN helps — not that I'm condoning bypassing streaming service restrictions (because copyright lawyers don't mess around). If you're looking to shield your ISP from seeing which sites you visit, a VPN does that too. From the outside, your ISP just sees an encrypted tunnel. What's inside? Their problem.
But if you think a VPN will protect your online banking or prevent every imaginable threat? You’ve got more homework to do.
The real question is: do you trust the VPN provider? Because at the end of the day, all your traffic goes somewhere — and the VPN service is sitting in the middle. Reputable services claim they don’t log anything. Some even back that up with third-party audits. But technically speaking, any VPN provider could be logging everything unless they’re explicitly built to make that impossible.
 Fast-forward to this week, and the VPN I’d been using since 2014 — Private Internet Access (PIA) — suddenly flubbed it. I renewed my sub opting to go for the longer term agreement that would yield a bigger savings. Then, 3 days later I get a notice that my 11+ year old account was **TERMINATED.** Seriously?!?! Yep. That was it. Within hours of receiving that notice, I was on with customer support arguing my case - they offered to set me up with a new account, but that's not what I wanted. I successfully got refunded, but overall, that was it for me. In a business where trust is paramount, I lost faith in their service. Some googling didn't help either as I found that they've gone downhill over the past few years (based on reviews). Anyway, it was time to decide - put up with the PIA shenanigans (pun is fitting 😂) OR leave.
So I ditched them.
I’ve had VPN tunnels running straight from my pfSense router for years. I’ve built out traffic shaping, NAT rules, and routing policies like a mad scientist in a firewall lab. So this little billing fiasco was the kick I needed to move on — and to rebuild my setup from the ground up. Issuing a new account meant I needed to redo configurations, so if I was going to redo everything, why not find a better service provider?
I needed a VPN that was minimal, trustworthy, and didn’t silently phone home to some AWS blob I never approved. I also wanted a provider that respected the tech and didn’t bury config options behind “Easy Mode” sliders.
 Enter: Mullvad, pfSense, and a generous dose of paranoia-fueled firewall rules.
Mullvad isn’t interested in who you are. No accounts. No logins. No emails. Just a randomly generated number that works as your identity. They publish transparency reports regularly, take privacy seriously, and still support power users who like to tinker.
Which is great — because I like to tinker.
TL;DR (Too Long; Did It Right! 😋)#
- Connected pfSense to Mullvad with manual OpenVPN config
- VPNClients alias only — everyone else uses WAN
- Firewall kill switch stops leaks cold
- DNS routed through tunnel to block ISP snooping
- Verified with DNSLeakTest, IPLeak, and packet capture
🌐 The Goals#
Connect pfSense to a Mullvad VPN server.
Only allow specific clients (using an alias) to route through the VPN.
Prevent traffic leaks if the VPN tunnel drops.
Avoid DNS leaks by forcing all DNS queries over the VPN.
Verify it all works with real-world testing.
No fuss. No mystery meat DNS. No traffic slipping through the cracks.
The Setup: From Clean to Cloaked#
1. Get the OpenVPN Config from Mullvad#
Before pfSense can do its thing, you need to bring it the goods — in this case, a properly built .ovpn config file straight from Mullvad. No installers. No auto-wizards. Just a clean, purpose-built OpenVPN profile.
Head over to Mullvad’s OpenVPN configuration generator (yes, it works even if you’re using WireGuard elsewhere — this page does both).
💡 Pro Tip: You’ll need your account number to access the page, but here is the LINK.
Set your options like so:
Platform:        Linux
Protocol:        OpenVPN (UDP or TCP)
Port:            1194 (or it could be 1195)
IP Version:      IPv4 only
Location:        Pick your country or specific server
Then hit Download. Mullvad hands you a .zip file packed with a single .ovpn file and the certs embedded inside. That file is your connection blueprint — it has everything pfSense needs to negotiate a handshake, verify authenticity, and start tunneling your traffic through a safer exit point.
There’s no username or password in Mullvad’s world. You use a randomly generated account number — a.k.a. your token — and that’s it. No email, no profile pic, no newsletter signups. Just you, a number, and a connection file.
Simple. Private. Brutally effective.
2. Configure the OpenVPN Client in pfSense#
Now that you’ve got your .ovpn config file, it’s time to pop the hood and extract what you need. pfSense doesn’t let you just upload the file and call it a day — this is a manual import job. Old school. Precise.
Open the .ovpn file with a text editor — something smarter than Notepad, ideally — and locate the following:
The remote server hostname or IP (look for the remote line)
The port and protocol (usually 1194 udp)
The
key block The
certificate block
This is your connection DNA.
Now, in pfSense:
Navigate to VPN > OpenVPN > Clients, then click +Add.
Start filling in the details based on what you pulled from the config:
Server host or address:   (from the 'remote' line)
Port:                     1194 (or whatever your config says)
Protocol:                 UDP or TCP (match the config)
Under User Authentication Settings, enter your Mullvad account number (starts with a 5 and looks like a bad password) in the Username field. Leave the password field blank.
Scroll down and paste the certs:
TLS Authentication:       Paste the contents of <tls-auth>
Peer Certificate Authority: Create a new one and paste the contents of <ca>
Also — and this is key — match the encryption settings. Mullvad uses AES-256-CBC by default, and if you mismatch that, pfSense will silently sulk and refuse to connect.
Save it.
You’ve now taught pfSense how to build a secure tunnel to Mullvad. No gimmicks. No apps. Just straight OpenVPN, configured with precision.
3. Create Interface for the VPN Tunnel#
pfSense is picky in the best possible way — it doesn’t treat a VPN connection like a magical black box. You want full control? You gotta assign the tunnel its own interface. This gives you the power to route traffic, apply firewall rules, and basically treat the VPN like any other interface on your network.
Here’s how to bring the tunnel into the pfSense family:
Go to:
Interfaces > Assignments
At the bottom, you’ll see your newly configured OpenVPN client listed under “Available network ports” — something like ovpnc1. Select it, click Add, and boom — you’ve got yourself a VPN interface.
Now click on the new interface (it’ll be called something generic like OPT1 at first), and rename it to something that won’t make your future self scream — maybe MULLVADVPN or VPN_TUNNEL. Whatever makes sense to you.
Configure it like this:
Enable:            ✔
IPv4 Configuration Type:    None
IPv6 Configuration Type:    None
That’s it. Don’t assign a static IP — you’re not treating this like a LAN interface. You’re just giving the tunnel a name, a handle, and a presence so pfSense can use it for routing and rule-building later.
Once that’s done, the VPN tunnel becomes selectable anywhere you’d assign gateways, create firewall rules, or apply NAT settings. No more hidden VPN magic — it’s all visible and manageable, just how it should be.
4. Define an Alias for VPN-Only Clients#
Time to draw the line in the sand. Not every device on your network needs to be wrapped in a privacy blanket — but the ones that do? They’re getting strict rules, and it starts here.
In pfSense, head to:
Firewall > Aliases
Click +Add, and set up a new alias:
Name:         VPNClients
Type:         Hosts
Now start adding the internal IPs of the devices you want to force through the VPN. This could be a Raspberry Pi pulling from shady GitHub repos, a torrent box, or even your laptop when you’re feeling especially tinfoil-hat-y.
💡 Pro Tip: Assign static DHCP leases to devices in your
VPNClientsalias so their IPs stay consistent. That way, your rules won’t break after a reboot or reconnect.
Services > DHCP Server > LAN
Lock in their MAC addresses and reserve IPs, so nothing changes on reboot or reconnect. That way, your alias always applies to the right clients, no surprises.
Once this alias is set up, you can use it in firewall rules, NAT rules, and anywhere else you need to apply special VPN treatment. It’s basically a VIP list — except the V stands for “Very Isolated Packet.”
5. Build Out Firewall Rules for Split Tunneling#
 (Figure: Split Tunnel Architecture – VPNClients are routed through Mullvad while LAN clients use the WAN.)
Now comes the part where we teach pfSense how to think like a privacy snob. The goal here is simple: traffic from certain devices (the ones in our VPNClients alias) should only leave the house through the VPN tunnel. If that tunnel collapses, they don’t get to sneak out through the front door (a.k.a. your WAN). They stay home, grounded, and safe.
So under Firewall > Rules > LAN, you’ll be setting up two rules. The order is everything here — don’t get cute and flip them.
First, create a Block rule:
Interface:     LAN
Source:        VPNClients
Destination:   any
Gateway:       default (i.e., WAN)
This rule says: if the VPNClients try to use the regular WAN, shut them down. No exceptions. This is your kill switch — the “you shall not pass” Gandalf moment for leaky packets.
Second, create an Allow rule directly below it:
Interface:     LAN
Source:        VPNClients
Destination:   any
Gateway:       MULLVADVPN
This is the green light that says, “You may pass… but only if it’s through the VPN tunnel.”
The logic here is straightforward but powerful: the block rule catches any non-VPN attempt first. Only if the VPN gateway is up and reachable does the allow rule kick in. That means the moment Mullvad has a hiccup or the tunnel drops, your selected devices go dark — not because something’s broken, but because you told the network to take privacy seriously.
6. NAT Rules#
Firewall > NAT > Outbound
Switch to Hybrid Outbound NAT
Add a rule:
Interface: MULLVADVPN
Source: your VPNClients subnet or alias
Translation address: interface address
This ensures NAT works properly for VPN-bound traffic.
DNS Leak Protection#
VPN tunnel? Check. Devices routed through it? Check. But if DNS requests are still sneaking out through your ISP like whispered secrets, the whole privacy party just got crashed. DNS leaks are the nosy neighbor of networking — even if your traffic is encrypted, they’re still eavesdropping on where you’re going. Let’s lock that down.
1. Force DNS Queries Over VPN#
We want DNS to ride shotgun inside the VPN tunnel. So under System > General Setup, tweak the resolver behavior:
Set DNS Servers to something like:
193.138.218.74 (Mullvad DNS - Sweden)
Then make sure to:
DNS Server Gateway:  MULLVADVPN
Uncheck:             "Allow DNS server list to be overridden by DHCP/PPP on WAN"
This makes sure that even if your ISP tries to sneak in their own DNS suggestions, pfSense politely ignores them like a scam call from “Microsoft Support.”
2. Tweak the DNS Resolver (Unbound)#
If you’re using the built-in DNS Resolver (Services > DNS Resolver), give it a once-over:
Enable the resolver (default behavior).
Make sure it’s only listening on LAN (not on VPN interfaces).
Bonus move: disable outbound DNS queries unless they’re from your VPN clients, but that’s icing — this config already routes DNS over the VPN by assigning the gateway to MULLVADVPN.
The resolver will now forward DNS requests out through the tunnel, so your ISP stays clueless about which sites your devices are querying. Just the way we like it.
Verification & Testing#
Alright, so everything’s in place. Feels solid. But unless you’re into Schrödinger’s privacy, it’s time to test whether this thing actually works. Because a VPN setup that leaks is like a submarine with a sunroof — looks cool, still sinks.
Let’s run through the checkpoints.
Fire up a browser from one of the VPNClients machines and head to:
Run the Standard Test or Extended Test (go big or go home).
Expected Result: You should only see Mullvad DNS servers listed.
🧠 Bonus: If you spot Google DNS (8.8.8.8) or your ISP on the test results, your DNS is leaking. Double-check that you’ve forced DNS over the VPN interface.
Same device, new test:
Expected Result: Your IP address should show up as a Mullvad-owned server — probably somewhere in the country/server location you chose earlier. If you see your real IP, abort mission and check the firewall rules again. Kill Switch Test
Time to simulate a VPN outage and see if your 5-tunnel kill switch does its job.
On pfSense, disable the OpenVPN client temporarily.
On a device in the VPNClients alias, try to load any website.
Expected Result: Nothing. Nada. Page should fail to load. That’s the desired behavior — no fallback to WAN, no traffic leak. If the site loads anyway, it means your block rule isn’t doing its job, or it’s in the wrong order.
⚠️ Heads Up: Your block rule must be placed above the allow rule. If the VPN drops and the allow rule triggers first, your kill switch is toast.
Bonus: Packet Capture Paranoia Mode
If you want to go full NSA-level nerd, use Diagnostics > Packet Capture in pfSense. Run a capture on the MULLVADVPN interface while browsing from a VPN client. You should see DNS queries and traffic hitting that interface — and nothing on WAN. It’s a bit overkill, but hey, trust and paranoia can coexist peacefully.
🧠 Bonus: Want to really confirm it’s airtight? Use
Diagnostics > Packet Captureon the VPN interface. You should see DNS and HTTPS traffic only there — nothing on WAN.
Rollback Notes (Because Experiments Happen)#
So here’s the part where I admit I got a little too clever.
At one point, I decided to build my own internal dynamic DNS setup to rotate Mullvad server IPs automatically. You know — because automation is cool, and static IPs are for suckers, right?
Well, not always.
It kind of worked. Until it didn’t. The OpenVPN client started throwing errors, acting like I’d betrayed it, and generally refusing to connect. Logs turned into cryptic mood swings. It was like trying to configure VPN with a Ouija board.
At that point, I decided to yank the whole contraption out by the roots. I rolled back my nginx reverse proxy jail using a ZFS snapshot (bless ZFS, always), cleaned out every custom script and tweak I had duct-taped to pfSense, and went back to a clean, manual config.
No shame in knowing when to reverse-engineer your own chaos.
Lesson: there’s a fine line between elegance and fragility. For this kind of setup, a little manual input is a fair trade for reliability. The goal here is privacy, not a Rube Goldberg machine that only works on Thursdays when the moon’s full.
Final Thoughts#
 This setup isn’t about hiding something shady — it’s about controlling where your data goes and who gets to see it. In an internet age cluttered with telemetry, bloated clients, and corporate terms of service that read like dystopian fanfic, having something simple, reliable, and under your control feels like reclaiming a bit of digital agency.
Mullvad does privacy like it’s a constitutional right. No user accounts, no marketing nonsense, just numbered tokens and transparency reports like clockwork. It doesn’t try to be your friend — and that’s exactly what makes it trustworthy.
pfSense, meanwhile, is the brick wall between you and the outside world — configurable down to the atoms, open source, and still running strong long after your smart toaster has begged for a firmware update.
This combo, stitched together with a little paranoia and a lot of intent, puts you back in the driver’s seat. No mystery DNS, no silent leaks, no fallback to WAN when the VPN hiccups.
It’s not flashy. It’s not beginner-friendly. And it sure as hell doesn’t auto-configure itself. But it works — and when it stops working, you’ll know exactly why.
So yeah — this is my setup. Built for 2025. Built to last. Built to stay out of sight.